Search Tutorials

Thursday, January 17, 2013

Strawberry Nails


Very cute strawberry nails!!


1. Paint all your nails a bright red color

2. Using a thin brush and green nail polish, draw the outline of the leafs. Sometimes it's helpful to draw the grass with a pen or pencil on your nail and just fallow that outline with the nail polish.

3. Fill in the spaces by painting them green. Becareful to not go outside of the outline so it doesn't look messy.

4. Using a dotting tool or a tooth pick, dip it in a little of black nail polish and make little lines around the red area of the nail. Don't put them in straight line, random lines gives it a more realistic look.
:)


Step 1


Step 2


Step 3


Step 4


Thursday, October 18, 2012

Easy Lace Nails


 I absolutely love this easy lace nails design! it is very simple and fast to do and I have gotten great feedback on it today :)


 Step one: Paint all your nails a light blue or aquamarine blue color.
 Step two: Draw a half circle line at the top left corner of your nail using white nail polish.
 Step three: Draw 4 little loops coming out of the line that you did in the previous step
 Step four: Make 3 horizontal lines and 3 vertical line inside of the half circle, this will give it the lace effect.


Step five: Using a tooth pick, draw little dots along the edge of the loops.

Finished!!! 


I hope you all found this tutorial helpful

Friday, October 5, 2012

Fall Inspired Nails.


Fall inspired nails!

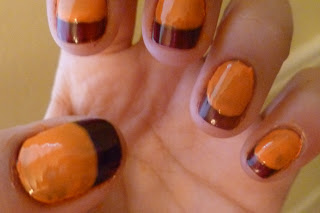
Step 1: Paint all your nails a brown


Step 2: Paint orange about 2/3 of the nail leaving a brown tip


Step 3: Paint 1/3 of the nails green leaving a little of the orange showing


Step 4: Using a thing brush and black nail polish make a vertical curvy line, and then more little curvy lines branching out of it.


Step 5: Paint little red dashes of dots along the curvy lines and once is dried paint little yellow dots on top of the red ones.


Related Posts Plugin for WordPress, Blogger...