Search Tutorials

Showing posts with label nail art. Show all posts

Friday, June 28, 2013

Monsters University Nail Art Tutorial


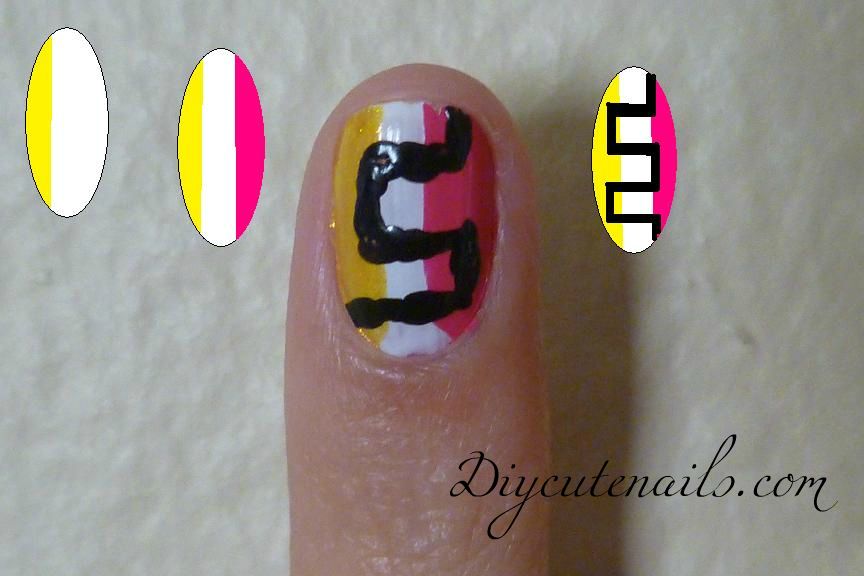
Step 1: Paint your nails is this order:


Step 2: On your index finger and your thumb (lighter blue color) paint 4 to 5 purple dots.


 Step 3: Using a toothpick, mess up the circles to make it look like fur.


 Step 4: Paint a dot of darker purple on top of previous ones and with the toothpick make it look like fur.


 Step 5: On your pinky paint a white dot to make an eye 


Step 6: for the letters you just have to be careful when you draw them and have a steady hand, you can always just make more purple dots! 


Thursday, October 18, 2012

Easy Lace Nails


 I absolutely love this easy lace nails design! it is very simple and fast to do and I have gotten great feedback on it today :)


 Step one: Paint all your nails a light blue or aquamarine blue color.
 Step two: Draw a half circle line at the top left corner of your nail using white nail polish.
 Step three: Draw 4 little loops coming out of the line that you did in the previous step
 Step four: Make 3 horizontal lines and 3 vertical line inside of the half circle, this will give it the lace effect.


Step five: Using a tooth pick, draw little dots along the edge of the loops.

Finished!!! 


I hope you all found this tutorial helpful

Friday, October 5, 2012

Fall Inspired Nails.


Fall inspired nails!

Step 1: Paint all your nails a brown


Step 2: Paint orange about 2/3 of the nail leaving a brown tip


Step 3: Paint 1/3 of the nails green leaving a little of the orange showing


Step 4: Using a thing brush and black nail polish make a vertical curvy line, and then more little curvy lines branching out of it.


Step 5: Paint little red dashes of dots along the curvy lines and once is dried paint little yellow dots on top of the red ones.


Tuesday, September 18, 2012

Tribal Nails Art

So this took me soooo long to do but it was worth it :) 

It was very hard to do a photo tutorial for this one because it is so messy and it took me so long, but I did show step by step of each nail design with a drawing sample.


Sunday, September 9, 2012

Leopard Print Nails


Step 1: Paint all your nails with a light brown nails polish 
]

Step 2: Using a dotting tool make various yellow or gold dots, 4-6 per nail and make them random don't fallow a pattern. They can all be different sizes. 

Step 3: Now use a darker shade of brown to make the outline of the spots. This is very easy simply take a thin brush and make 2 lines around the yellow dot, one at the top and one at the bottom. Make the lines curvy and different.

If the yellow dot is big, draw 3 lines and make sure non of the lines are touching each other. 

Repeat in all your nails and done! :) 


Wednesday, September 5, 2012

Color Pencil Nails


As requested by : Nail Official (tumblr)


Step 1: Paint your nails black and then using white make a square at the base of the nails

Step 2: Using a light brown (almost pale) nail polish, draw a trapezoid/ triangle right above the square. 
Is not a perfect triangle, is more of a trapezoid. 
Step 3: Using the white nail polish paint a smaller triangle above the trapezoid. 

Step 4: Repeat in all your nails using different colors. 

Step 5: Using a thin brush outline the pencil in black. 


Friday, August 31, 2012

Paint Splatter Nails


As requested by my sister Juliana :) 

Super fun and colorful paint splatter!

* In the tutorial pictures is hard to see the bright pink polish I used but my nails look like the top pic 

Step 1: Paint all your nails black

Step 2: Find a straw and dip in in desired splatter color. I chose to do white first. 


Step 3: Once the straw's tip is covered in nail polish, aim at your nail and give it a blow once, all the nail polish on the other side of the straw will splatter all over the place so be careful and use a paper under your nail to prevent a mess. 


Step 4: Repeat in all nails


Step 5: Time to change the color, you can either dip the straw in nail polish or simply put nail polish from the brush into the straw.  


Step 6: Add a third color if you would like :) I did gold as the last one 


Friday, August 24, 2012

Flower Nails


Very cute and easy flower nails tutorial :)

Step 1:  Paint all your nails yellow


Step 2: Using a tooth pick or a dotting tool, make a circle with 5 small dots touching each other. 


Step 3: Repeat the last step 3 times per nail. You can make more than 3 flowers if you like and you can even alternate colors in each nail for a more colorful manicure. 


Step 4: Using a doting tool make a red dot in the center of the flowers. 


Simple, Easy and Very Cute! 

Related Posts Plugin for WordPress, Blogger...