Search Tutorials

Sunday, July 22, 2012

Polka Dots With a Classy Twist.


By Request: Classic White and Black Polka Dots with a twist.  

Step 1. 


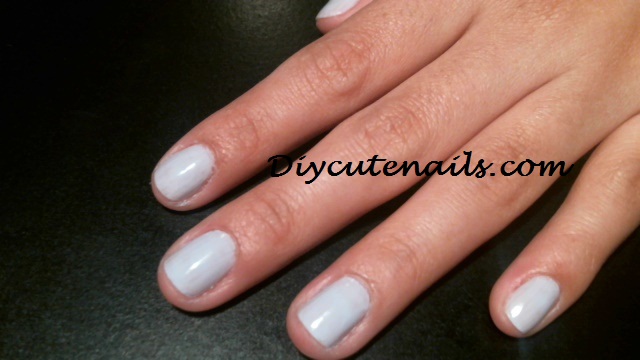
Paint your nails all white, is a lot easier to do it this way than to pain just have of the nail white. 


Step 2.

Paint the top left side of the nail black diagonally.


It is actually very simple to do this, just start by painting the diagonal line and then pain in the rest.

Step 3.

Using a dotting tool, make small white dots on the black part of the nail. make sure that all dots are evenly spread. 


Step 4.

Repeat in all your nails. you can mix and match colors or even do black dots in the white part as well. 


Thank you for your request!!!

Leave comments and email me (or comment) for requests!


Tuesday, July 17, 2012

Circle Design Nails


Step 1

Paint your ring fingernails bright pink and the rest of your nails white. 


Step 2

Find a plastic lollipop stick that is hollow.  This will be used to make the circles.


Step 3

Dip the lollipop stick on a drop of pink nail polish, then carefully press it on the white nail without moving it around do it doesn't smudge. Repeat this step 3 times in each nail. 


Step 4

Wipe down the stick with nail polish remover and do the same circles on the pink nail using white nail polish. 


And you are done! 


Please make sure to leave comments or request :) 


Thursday, July 12, 2012

Gradient Nails With Dots!


Let me start by saying that this has to be the easiest and cutest design yet, it might look intimidating but is really not. I love this nails!


Step 1:


Paint all your nails of the desired background color, for this tutorial I did a very light purple and in my opinion looks a lot better than the usual black and white.


Step 2: 

find a piece of paper that you don't use and put some drops of black nail polish on it, this will be useful to make the dots. Using a tooth pick, dip it in the drops of the black polish and start making dots on the top of your nails


Since this is a gradient design make sure to make many many dots on the top of the nails, to the point where you cant see the background color. (example below) 


Step 3:

After you do the top part, keep making the dots all the way down your nail remembering to do less and less dots as you make your way down to the base of the nail. 


Repeat these steps with the rest of the nails and done :) 
Easy huh? 


Try different colors or even different colors for all the nails. Maybe use your team's colors? or match it to your outfit :) 


Sunday, July 8, 2012

Plaid Nails


Step 1.

Paint your nails bright pink.


Step 2.

Using a thin brush paint 2 black vertical lines in each nail. Since plaid is not perfect lines, make some lines thicker than the other ones and don't worry too much if they are not perfect.


Step 3.

Now paint black horizontal lines on your nails. Just like the vertical lines they don't have to be perfect, in some nails you can do 2 lines and in some you can do 1 depending on how long your nails are.


Step 4.

Now using a white nail polish, paint horizontal lines in between the vertical lines.


Step 5.

Paint white horizontal lines in between the black lines. Some nails may have more white lines than others. Remember all nails can be a little different.


Don't try to do all the lines perfect, with this design just have fun and use any colors you want :)


Saturday, July 7, 2012

Character Nails Ideas!


Here are some Ideas on character nails you can try! 


Domino Nails


Fun domino nails!

Step 1. Paint all your nails Black or white depending on what you want. Domino are usually white but I decided to put a twist on it. 

Step 2. Using a thin brush, pain a horizontal line in the middle of your nail diving it evenly.

Step 3. Make dots on each side of the nail keeping in mind what numbers are in an actual domino 

Orange and White Design


This one is not a very specific design just something I came up with and is very easy to do.

Step one: Paint all your nails orange (or desired color)

Step two: Using a very thin brush make 5 little lines coming out of the corner of your nail. Make every nail unique and do the white design on different corners of the nails. 


Colorful Polka Dots Nails


To do this nail design takes time but it is well worth it!


Step 1. Paint your nails any desire color.


Step 2. Using a dotting a toothpick make diagonal dot lines on the nail. do this with different colors any new line. 


Tip: Is really easy to make the dots but it can be hard to do it on yourself. If you are having trouble doing the dots ask someone for help.


Get creative and use as many colors as you want! 

Tuesday, July 3, 2012

Hey There!

More nails tutorials coming soon :) Don't forget you can email me at diycutenails gmail.com if you have any request for tutorials, I would be happy to make those and post them! 

Monday, July 2, 2012

4th of July Nails

Step 1


Paint your ring finger blue and the rest of your nails white. 


I used a metallic blue for this tutorial.
Step 2

In this step we make 3 red lines going horizontally on all the nails that are painted white. There is 2 ways of doing this:


1
. Place 2 pieces of tape on your nail leaving a space in between them, then with red nail 
 polish go over the tape and peel off when is dry. 


2. If you have a steady hand you can simply paint the lines without tape using a thin brush.


Step 3

Now is time to make the star. Using a dotting tool and white nail polish carefully "draw" a star on the blue nail. Once the outline of the star is made you can fill it in with white nail polish. For this you can either use the same dotting tool or a thin brush.
Step 4

Using a flat edge tool or a anything with a flat edge (paper, credit card, etc.) smooth the edges of the star by gently pushing the star's outline.


Finished! Happy 4th of July :)


Sunday, July 1, 2012

Monarch Butterfly Nails

Step 1

Paint your ring finger with orange nail polish (or desired color for butterfly wing), and the rest of your nails paint with black nail polish.


Step 2

Using black nail polish and a thin brush, create a half circle in the bottom corner of the orange nail. 


Step 3

Using the same black nail polish and thin brush make 3 diagonal lines going from the half circle to the top corner. 


Step 4

With black nail polish, paint the top corner were the lines end. 


Step 5

Using white nail polish and a dotting tool ( toothpick will work), make various dots in the black corner.


Finished! 5 easy steps for butterfly nails. You can also chose to do butterfly wings in every nail :) 


Related Posts Plugin for WordPress, Blogger...